Your next trip starts here.
Your cart is empty. Choose a destination to get started.
 Browse destinations
Choose eSIM when your exact phone is compatible and unlocked and you prefer a digital setup after landing. Choose a physical travel SIM when eSIM is unavailable or you prefer…
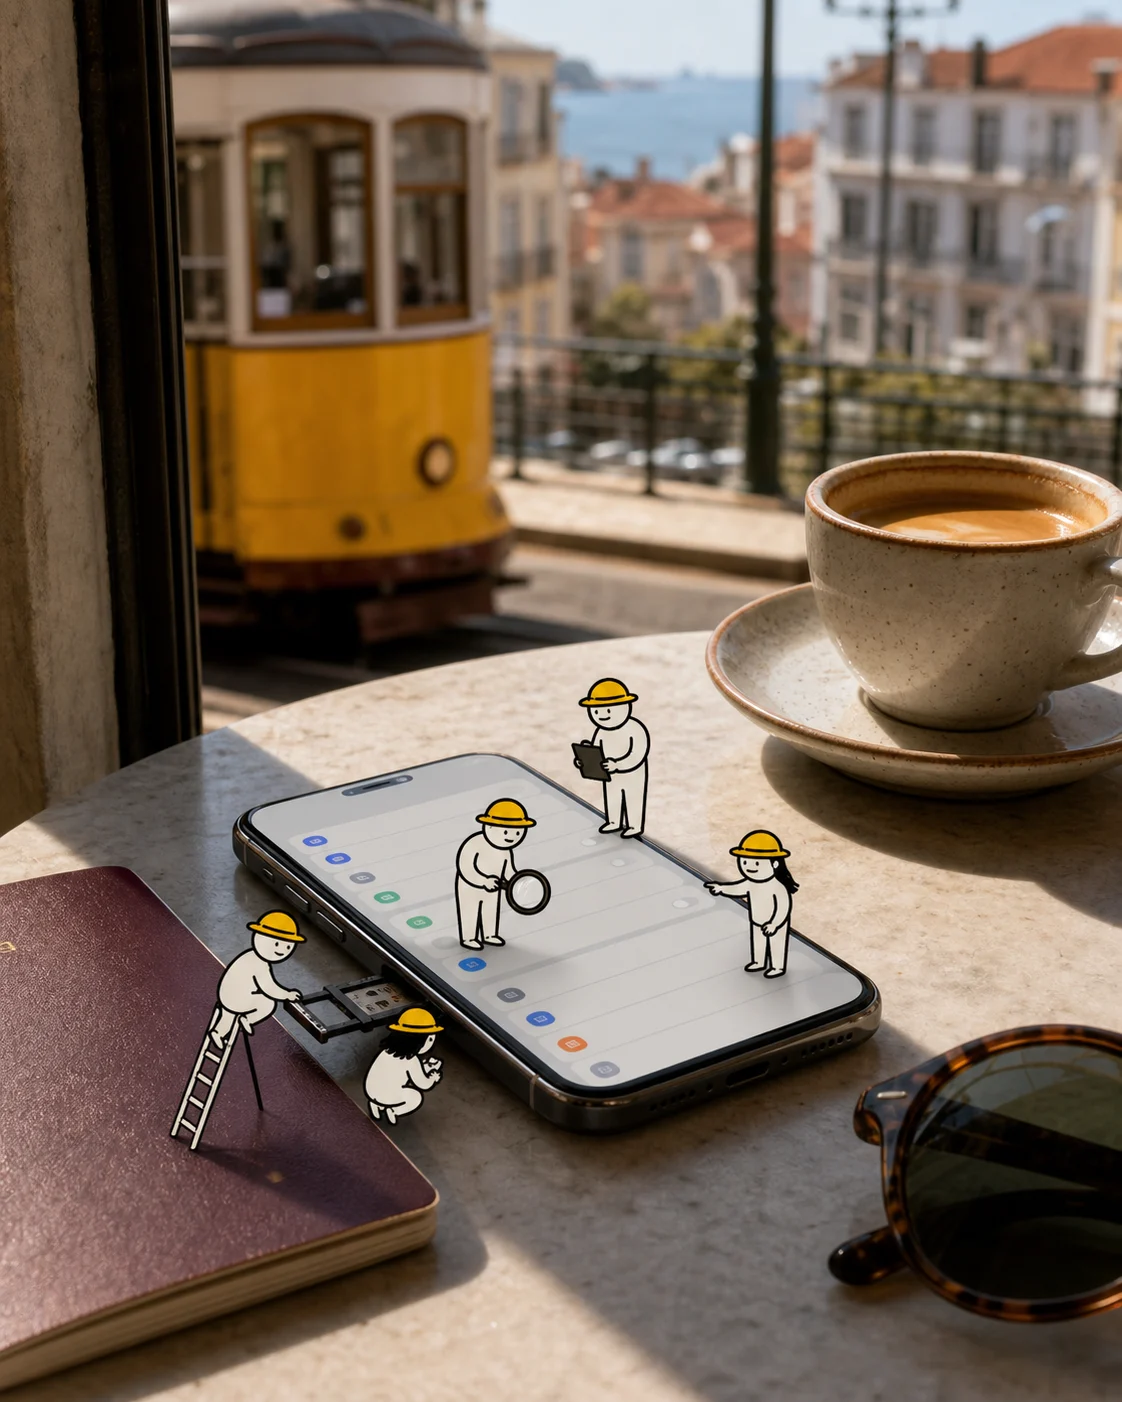
Choose eSIM when your exact phone is compatible and unlocked and you prefer a digital setup after landing. Choose a physical travel SIM when eSIM is unavailable or you prefer the physical/retail route. Compare the actual plan facts, not just the form factor.
Check exact phone compatibility/unlock before assuming eSIM is available. Choose around the actual trip and phone. Start with three plain questions: where do you need data, what must the Australian line keep doing, and how much setup friction are you happy to accept after landing. The best answer is the one that makes those trade-offs obvious before money or time is spent.
A physical SIM is a small card you collect, insert and later remove. An eSIM is added through the phone’s settings, usually while connected to Wi-Fi, so it can leave the home SIM physically in place. Neither format automatically provides a local phone number, calls, SMS, hotspot or coverage for every stop. Choose the format that your exact phone supports and that leaves you with the line arrangement you actually need, rather than treating the word eSIM as a blanket travel promise.
Price is only one part of this decision. Ask which awkward moment you would rather avoid: finding a shop after landing, managing another device, paying home-carrier roaming, or changing settings on a phone. The answer often makes the better option obvious.
Buy before travel, then add the eSIM after landing. Use airport Wi-Fi only after you can sign in and open a normal webpage. If that does not work, use hotel Wi-Fi or another steady trusted connection. Save the setup email before you fly, but do not scan the QR code, tap a quick-install prompt, install or activate the travel eSIM before you leave.
For help with your phone, plan or order, email hello@thesimshop.com.au. If the choice is still close, send support the itinerary, dates, phone model and the job your home line must keep doing. Mention hotspot or another-device needs too, because they can change the sensible option.
Information checked: 19 July 2026.
These links support the travel decision points in this guide. Check the current SIM Shop option linked below and your own carrier’s current terms before choosing a service.
Email us your exact phone model and provider. We will help you confirm the important compatibility details before you buy. hello@thesimshop.com.au